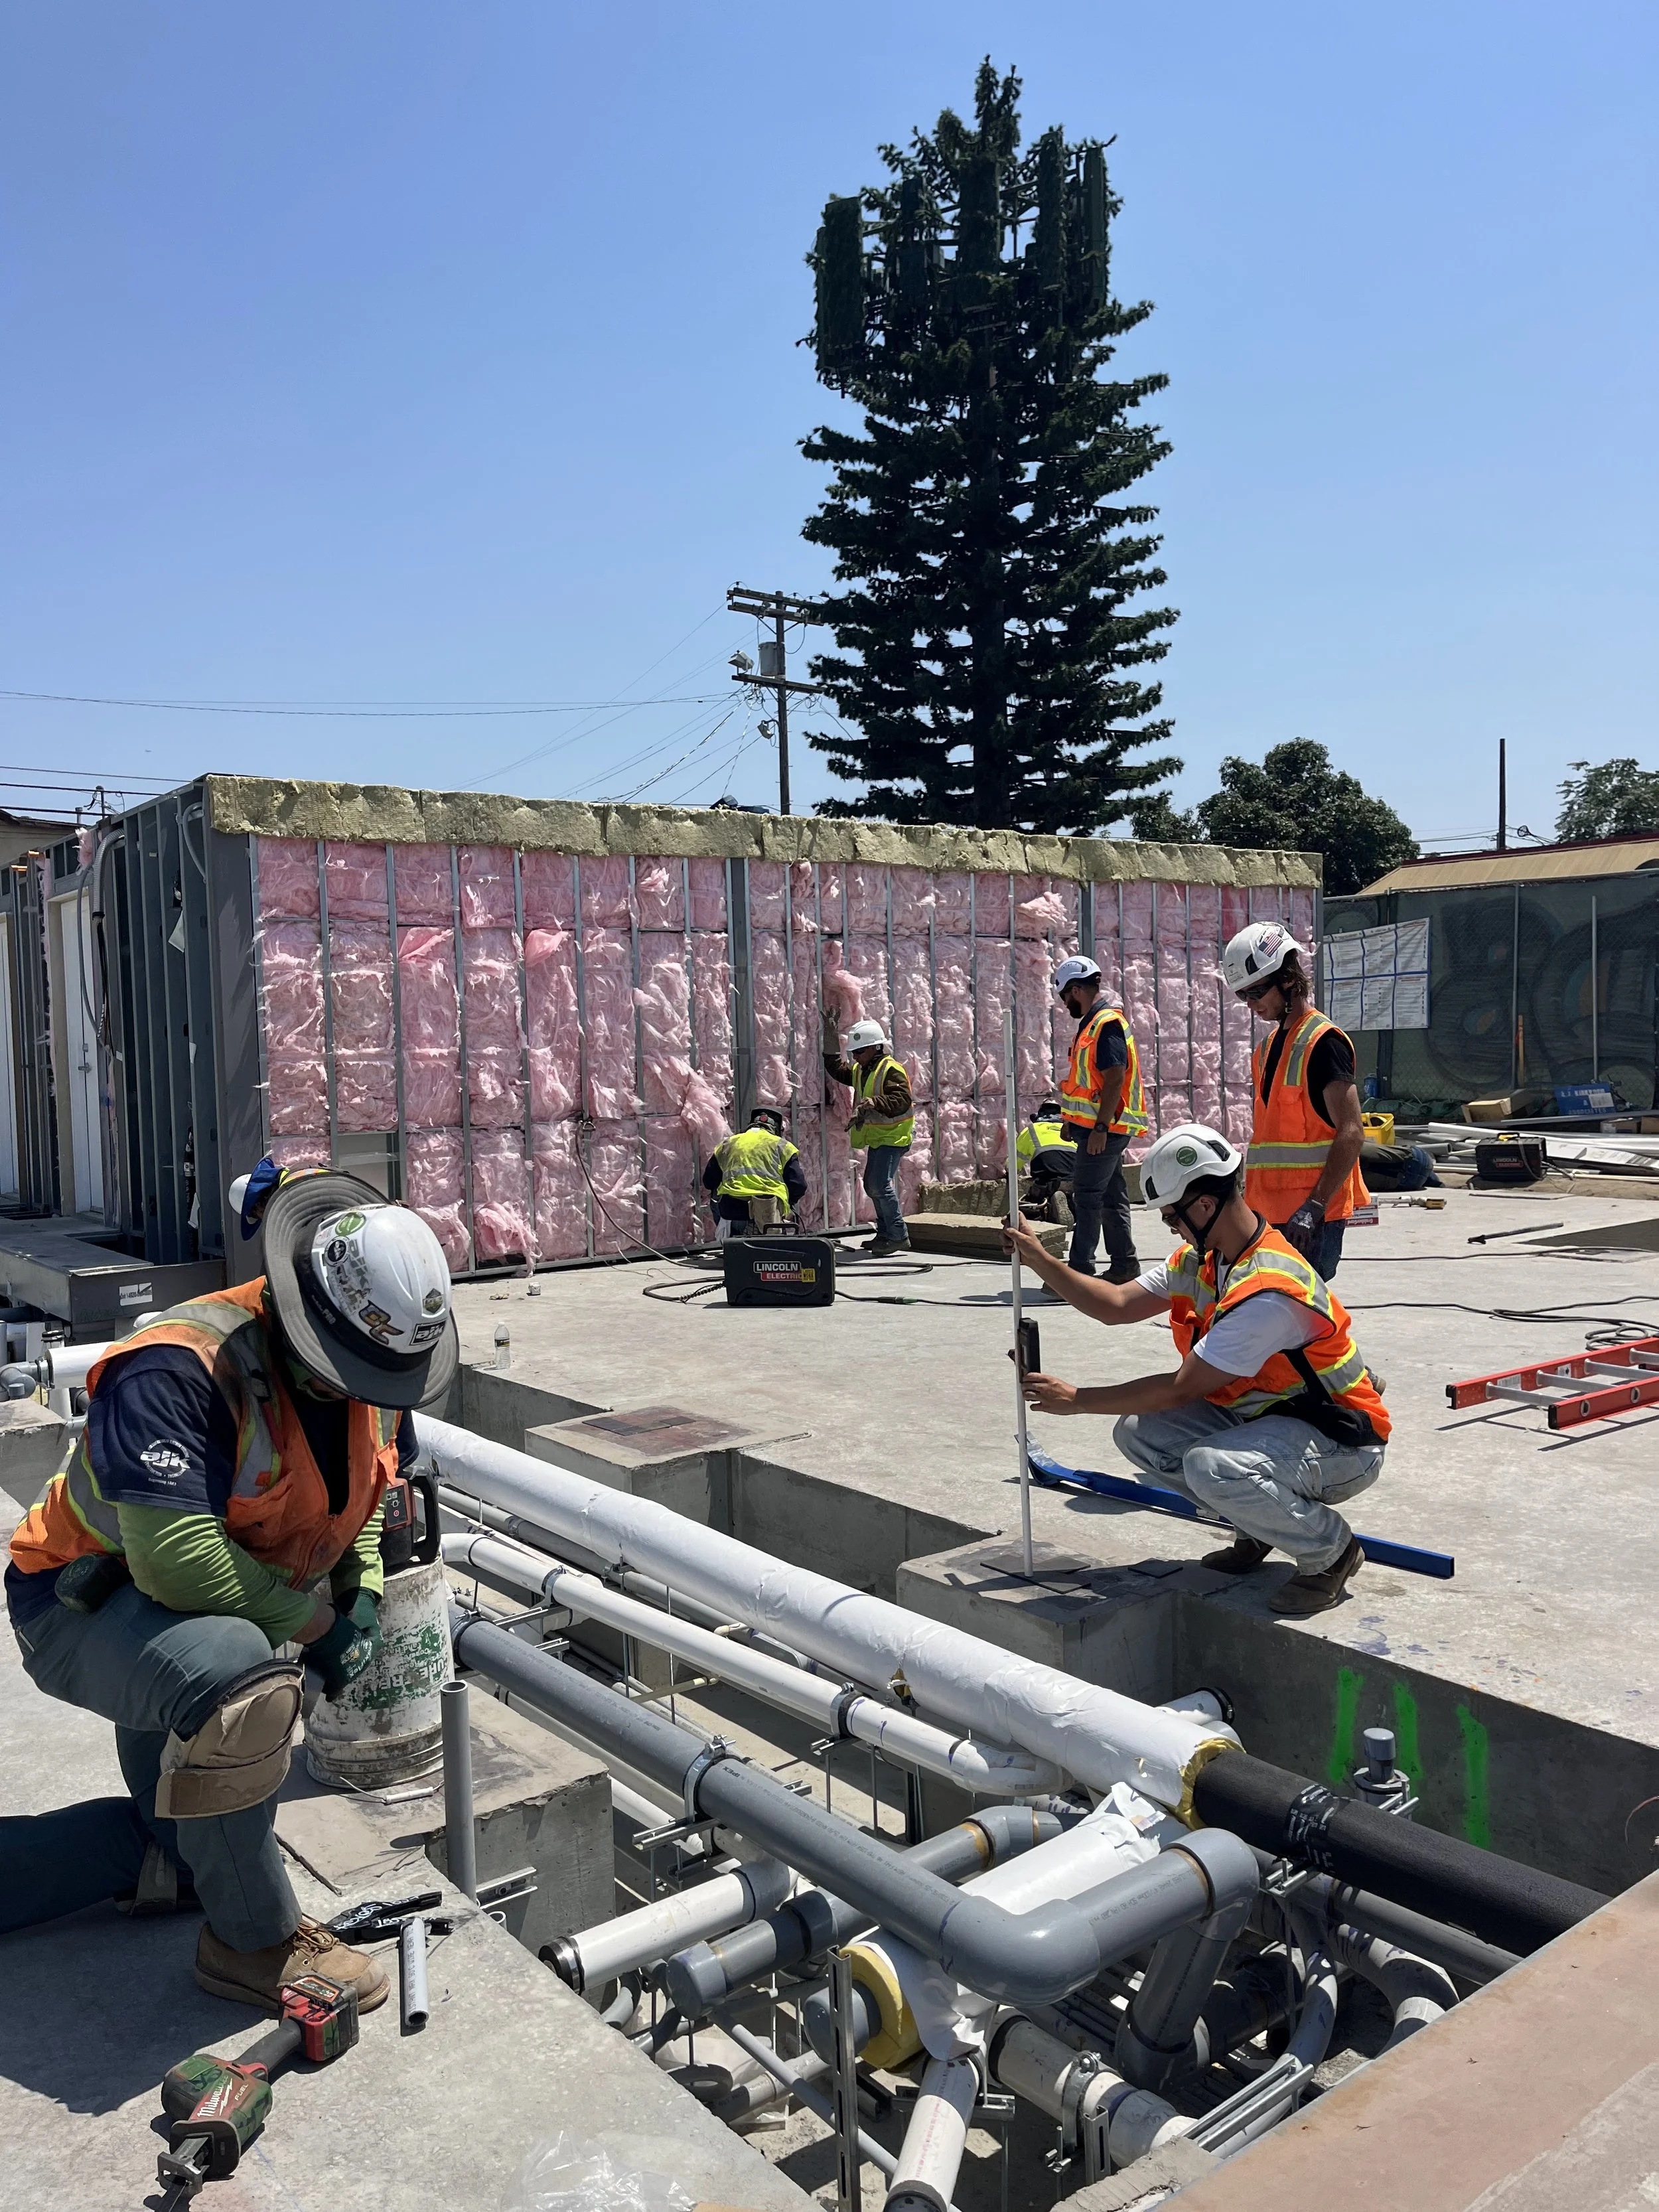
From Factory to Foundation: Step-by-Step on ADU Installation
At Model/Z, we’ve designed our ADU installation process to be as seamless and efficient as possible by minimizing on-site disruption and maximizing speed. From the moment we begin building your unit in our factory to the day you receive your keys, every step is carefully coordinated for quality and precision. Here’s what the journey from factory to foundation looks like.
Step 1: Site Preparation
Before your ADU arrives, the site needs to be ready to welcome it. This phase consists of:
City Approvals – Securing municipal sign-off for mechanical, electrical, and plumbing (MEP) connections, as well as any structural work.
Foundation Prep – Grading the land according to your chosen foundation type: helical pier, spread footing, or slab on grade. We can help you determine the best option for your property.
Utility Access – Locating and trenching for MEP lines as needed, then running them to the exact location beneath the future unit.
Foundation Install – Pouring or setting the foundation and embedding plates for secure structural connections.
Once complete, we schedule the first inspection to ensure the foundation meets code.
Step 2: Transporting Your ADU
With the site ready, it’s time to bring your ADU to its new home.
Permits & Logistics – Obtaining traffic permits and arranging transportation from the Model/Z factory.
Crane Prep – Organizing crane arrival to seamlessly move your module from truck to foundation.
Pickup & Delivery – Your completed ADU leaves our factory and arrives on site.
Step 3: Crane-In & Structural Connections
This is the exciting part! Watch as your ADU takes its place in its new home.
Crane Placement – Lifting the module from the truck and positioning it precisely onto the foundation.
Securing the Structure – Making permanent structural connections between the ADU and foundation.
Step 4: Utility & Systems Connections
Once in place, we connect your ADU to the grid and municipal systems:
Domestic water line to municipal supply
Electrical line to load center (often run underground)
Sewer connection to waste system
Water heater installation and connection
Electrical panel hookup for water heater
Optional installations: internet service, fire sprinklers
This stage ends with a second inspection, including an underground review before insulation and siding are added.
Step 5: Building Finishes
With utilities live, we complete the final touches on-site in less than three days:
Roof finishing and cladding
Scupper and drain installation
Waterproof membrane (if applicable for MEP wall)
Rigid insulation board (if applicable for MEP wall)
Exterior cladding (if applicable for MEP wall)
Deck installation
Step 6: Final Inspection
A third inspection verifies that the exterior and all final work meet safety and quality standards. After this, your ADU is move-in ready.
From Start to Keys: Faster Than You Think
Thanks to our streamlined modular manufacturing process, most Model/Z ADUs go from permit approval to installation in less than 10 weeks. With fewer disruptions, lower costs, and faster occupancy than traditional builds, you can start enjoying your new space sooner—whether it’s for family, work, or rental income.
Ready to get started? Contact our team today to reserve one of our first 50 Model/Z ADUs.


